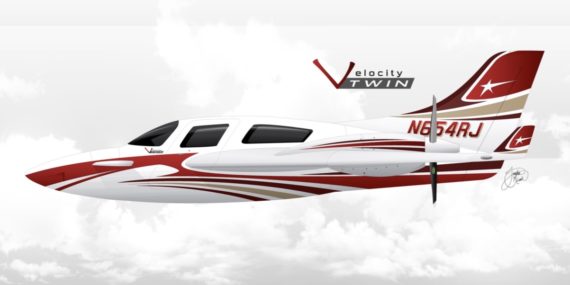
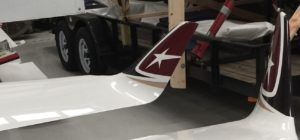
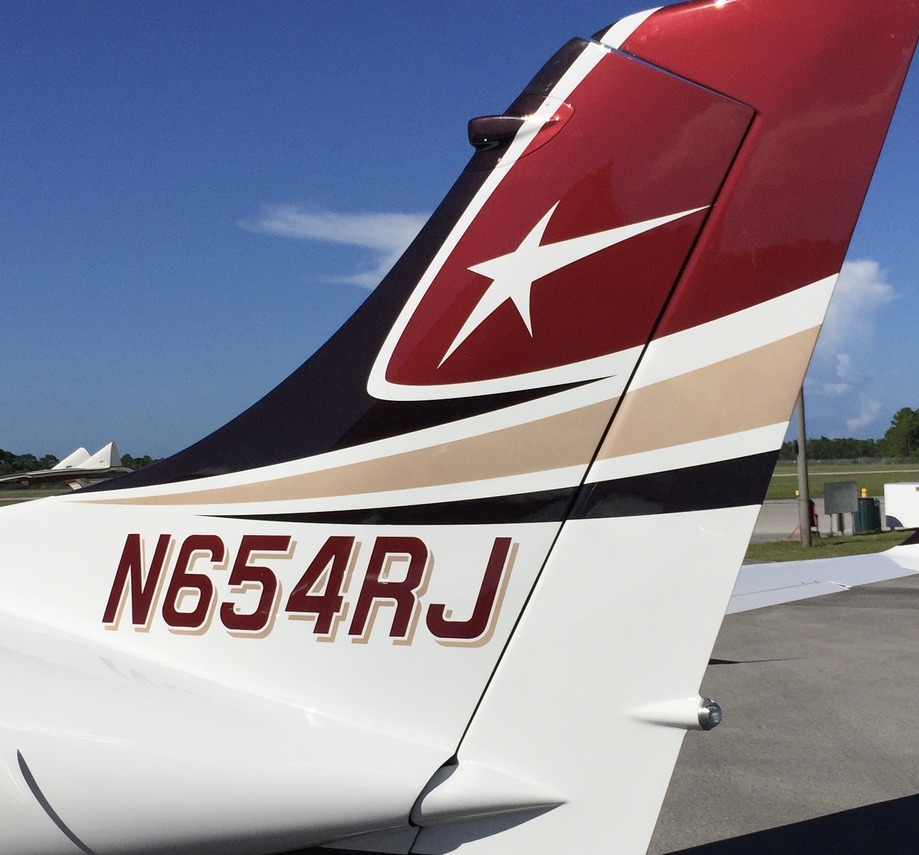
Any discussion of the exterior should start with the custom paint. While developing this scheme, I showed it to my wife, Scott, Bryan, Riley, Justin, and others at the factory for their feedback.
Nonetheless, it is primarily the result of a collaboration between myself and the graphic artist Jonathan McCormick at Plane Schemer. Clearly, he is a very talented guy! I highly recommend him.
For more about my custom paint, see the menu item Painting.
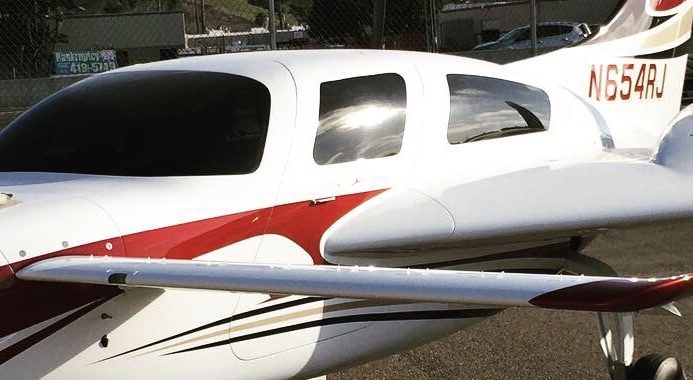
One of my changes to the exterior was to add landing lights to the canard. I like to be able to see for landing at night! 🙂 I used Aeroled MicroSuns for my landing lights.
In fact, I used nothing but Aeroled’s in my airplane. These are awesome lights, and they are an excellent company. Highly recommended.
For more about my LED lights, see the menu item Lights.
Another change that I made was to install hinges on my nose compartment access hatch. This turned out quite nice with no screws and a nice, clean look.
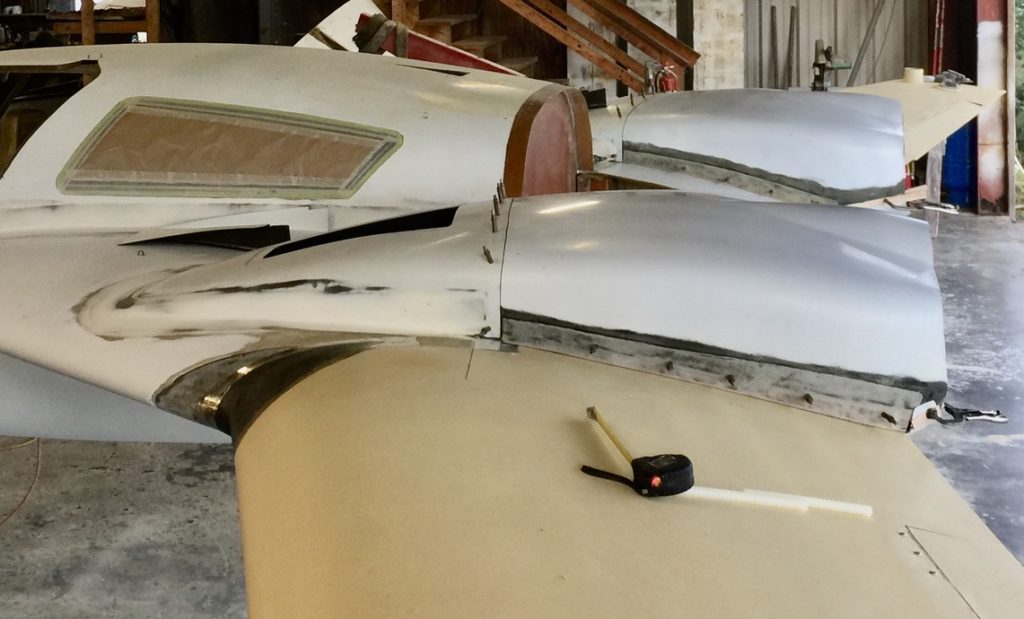
A little mod that I did to the exterior, was to add small, curved flanges to both sides of the “Dog House” (canard cover) and also to the top cowlings (outer edges that are just over the wing spars). I think these extra “touches” yielded a nice, finished look to these areas, rather than just an unattractive gap. Riley Swing made the flanges for me.
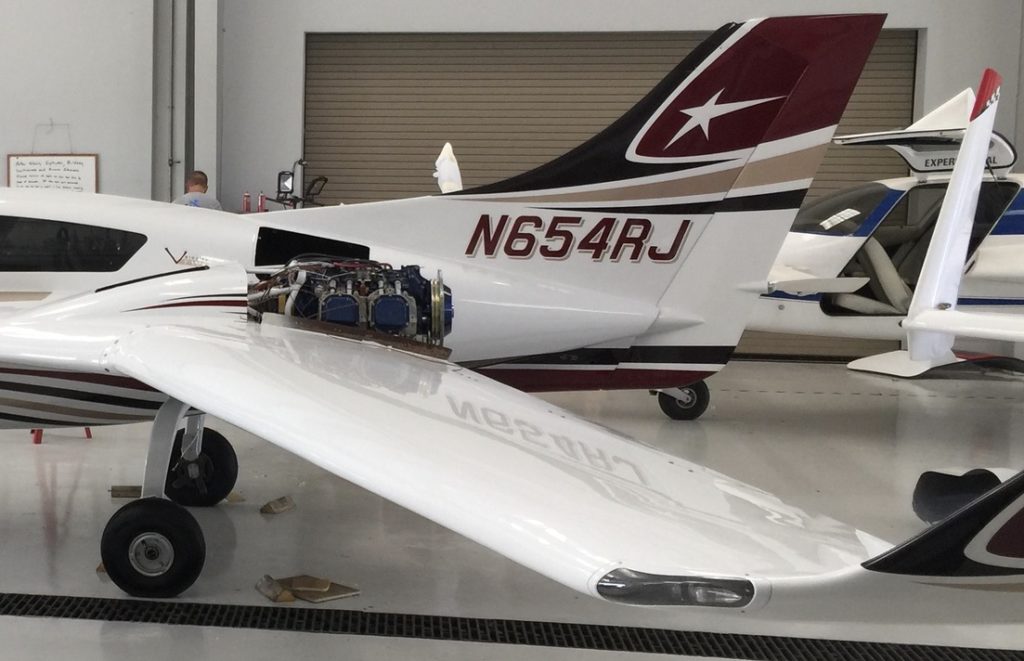
Another exterior item addressed an issue with the cowlings. I noticed that previous V-Twins had very minimal room to access their spark plugs. To address this, when we installed the cowlings, we modified them to be 1″ wider. This meant making new flanges tops, bottoms, and on the wings. A good bit of work, for sure, but certainly adds to the maintainability of the airplane.
I changed the way the winglets were mounted on the airplane. This was purely for cosmetic reasons. Velocity had been screwing them in place just in case they might want to change the design. Good thinking, but it turned out that these winglets not only look great, they perform quite well (adding about 10 knots to cruise). With no foreseeable design change, I decided to bond them in place. This gives a really nice look. See for yourself.
Apparently, subsequent twin builders agree with me, as I now notice they have all adopted my idea. 🙂
Also, for the wingtips, we changed the way that we installed the wingtip lights. Rather than drill holes in the light lenses which often leads to cracked lenses (sooner or later), we made a flange out of fiberglass. Then we trimmed the lenses to fit the flange. In turn, the flange was drilled and screwed onto the wingtip. No more cracked lens problems!
I knew that I wanted to share aviation and this airplane in particular, so I thought ahead with regard to videos and pictures. With that in mind, when I built the rudder, I also added a fairing and mount for a Garmin VIRB Ultra 30. I even remembered to add an internal wiring duct before the rudder was assembled!
My original intention was simply to take cool videos from this perspective, but it turned out there is a bonus feature. The Garmin VIRB Ultra30 camera has an ultra wide setting that provides a view of both propellers. Nice. No need for fuselage cams to view the engines (which I had originally planned on).