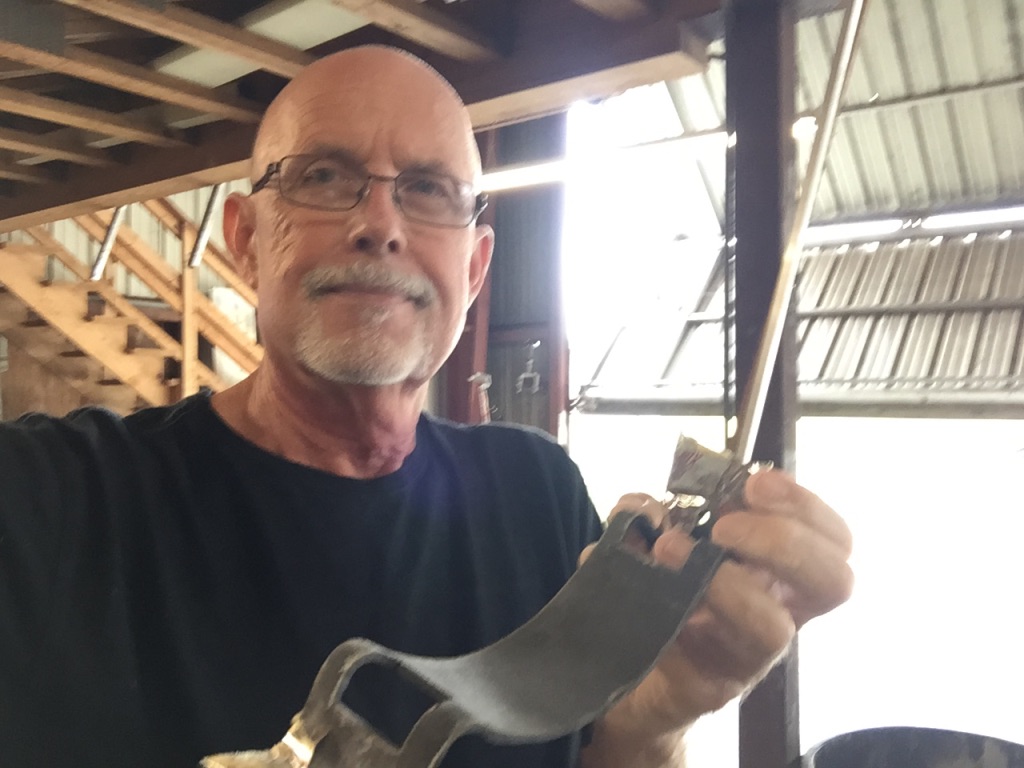
Since no preceding V-Twin builder had installed oxygen yet, I got to pioneer the installation. I had to figure where to mount the bottle, how to run the lines, where to mount the control head, where to mount the distributors for each seat, and, finally, where and how to mount the fill system.
Since I had already installed such a system in my Lancair Legacy, I was pretty familiar with the necessary tasks. Still, I had to figure out how and where to mount everything in this airplane.
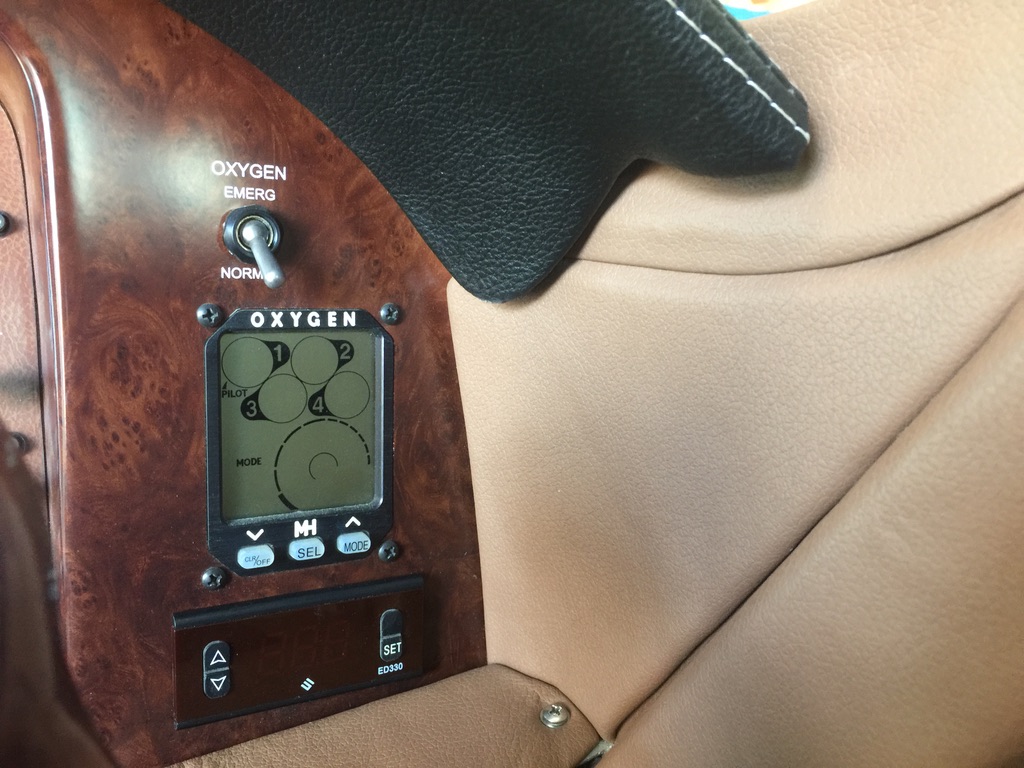
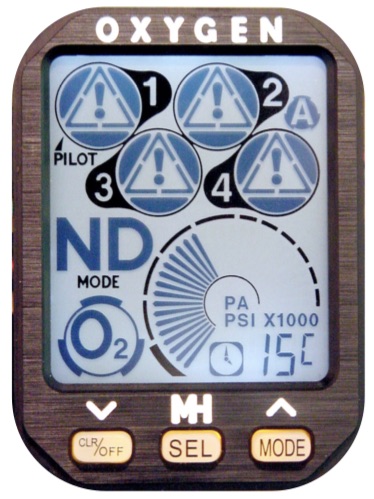
Besides, the guys at Mountain High are super nice, super smart, and very, very helpful (Eric, Sid, Jamie, & Tom). They are available and eager to answer any and all questions. I chose their 4 place built-in pulse demand system: EDS-4ip With IPR, one touch Built-in Oxygen System.The SKU is 00EDS-2004-01.
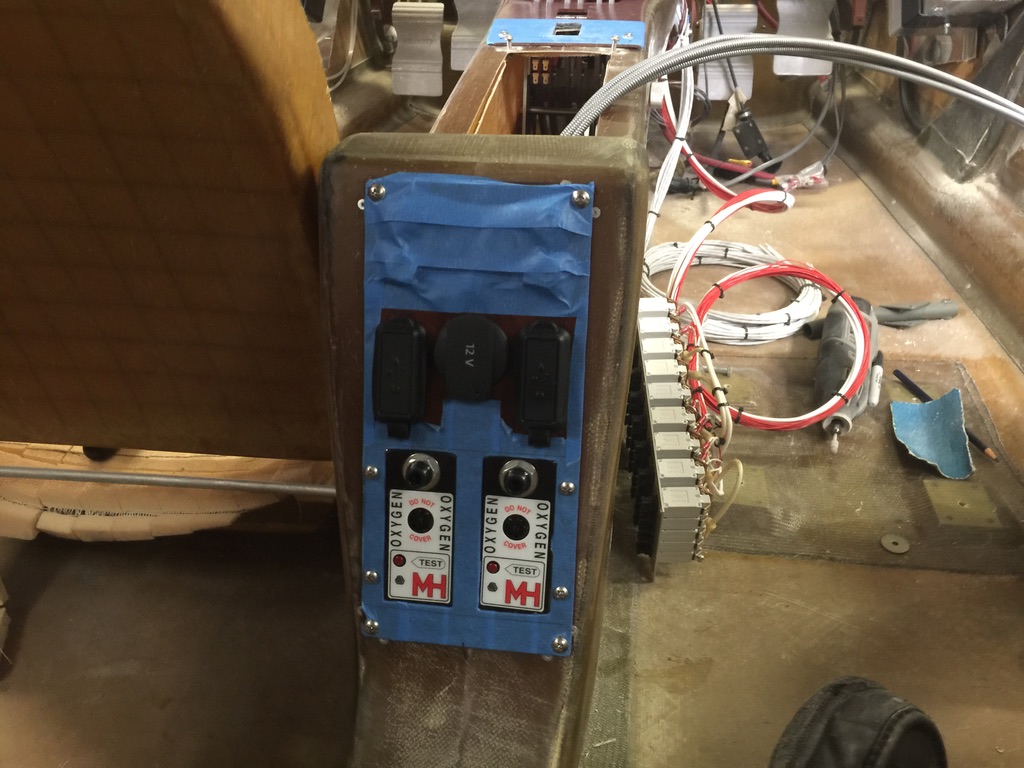
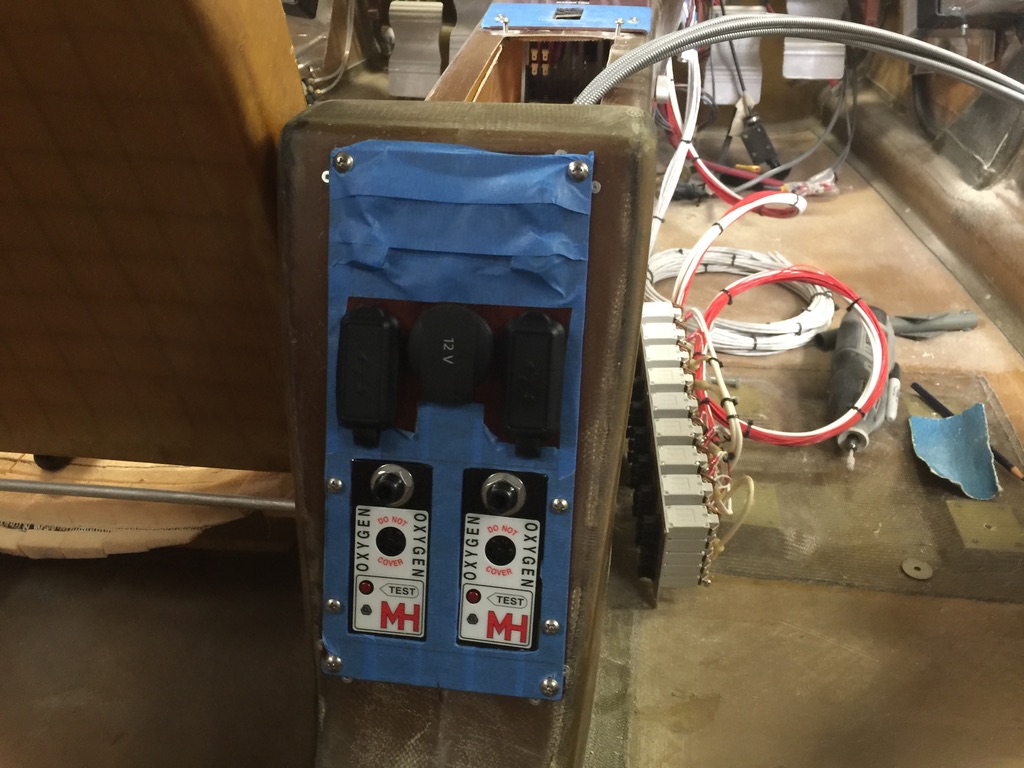
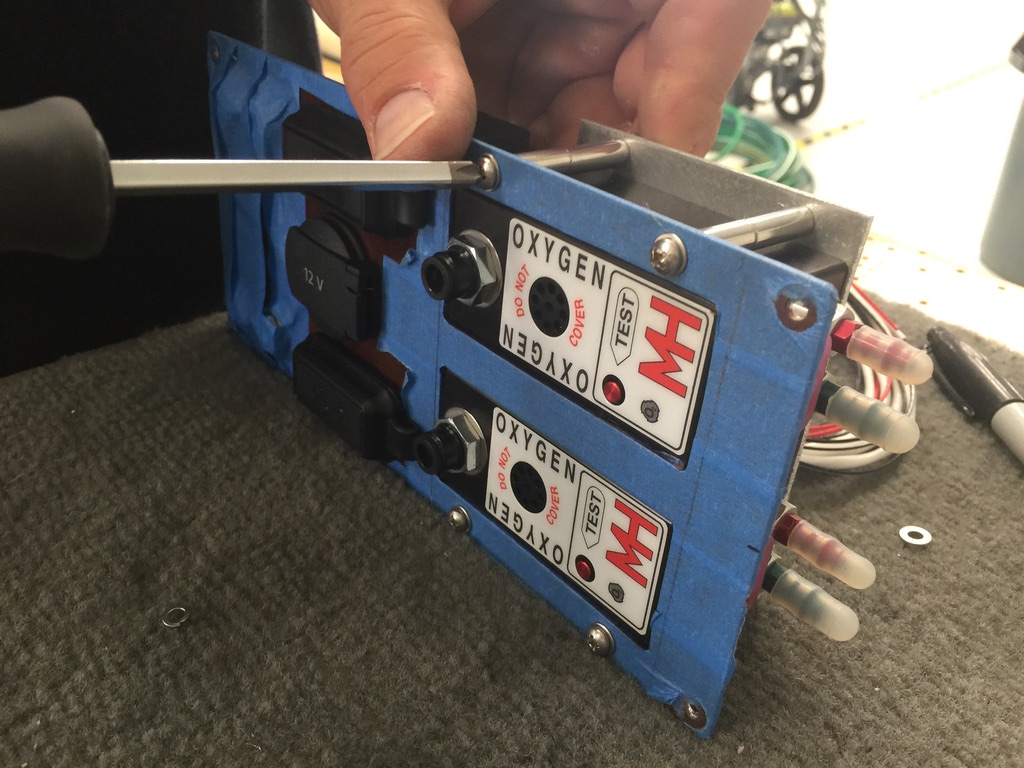
If you lose electrical power to your EDS system and you are needing oxygen, flip this switch ON.
You will now get a constant low flow of oxygen which will easily provide enough time to descend.
So the first thing to figure out was where to put the bottle. No one had any suggestions, but since, at this point, I had already decided that I was not going to install the diesel semi-truck heating system (installing cabin heaters instead), that opened some good space in the nose compartment.
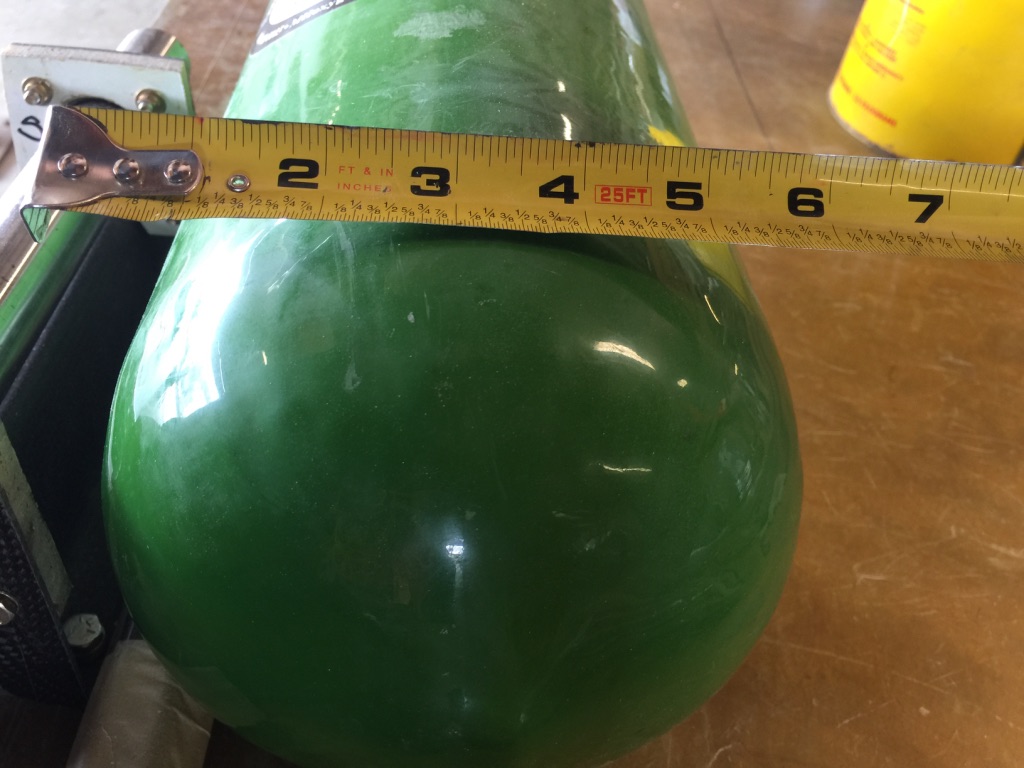
Mountain High has an array of bottle sizes. I measured the available space and ordered the largest one that would fit into this space.
If you desire to carry even more oxygen, you can use multiple bottles. You simply tee them together, and they are functionally one bottle.
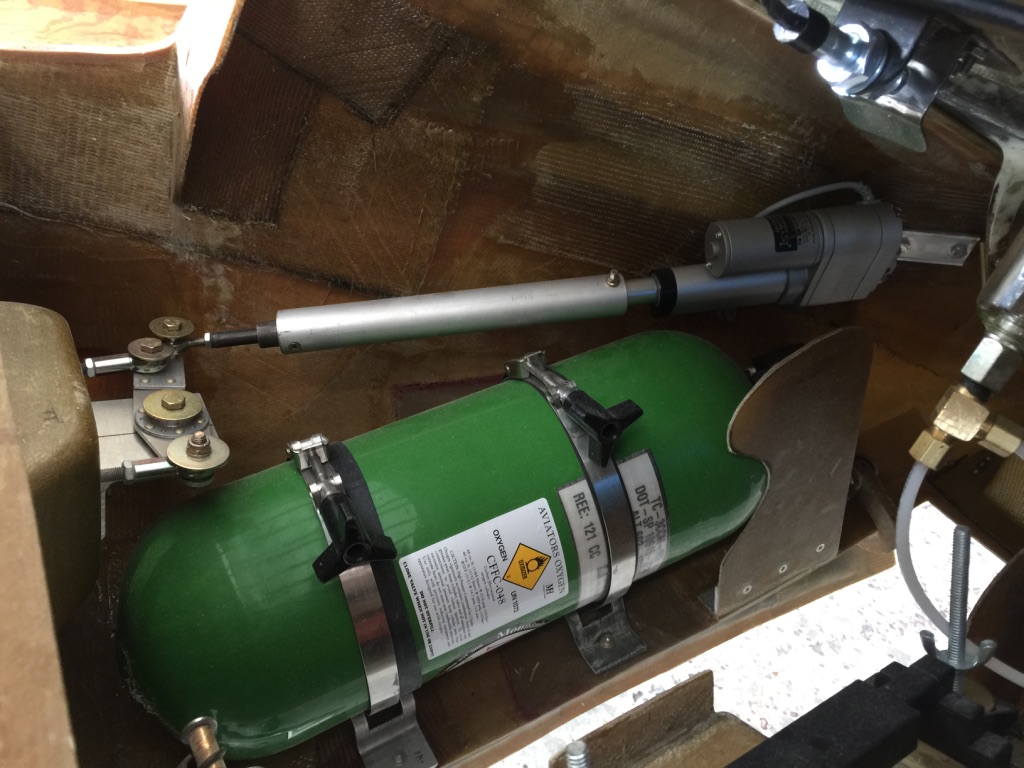
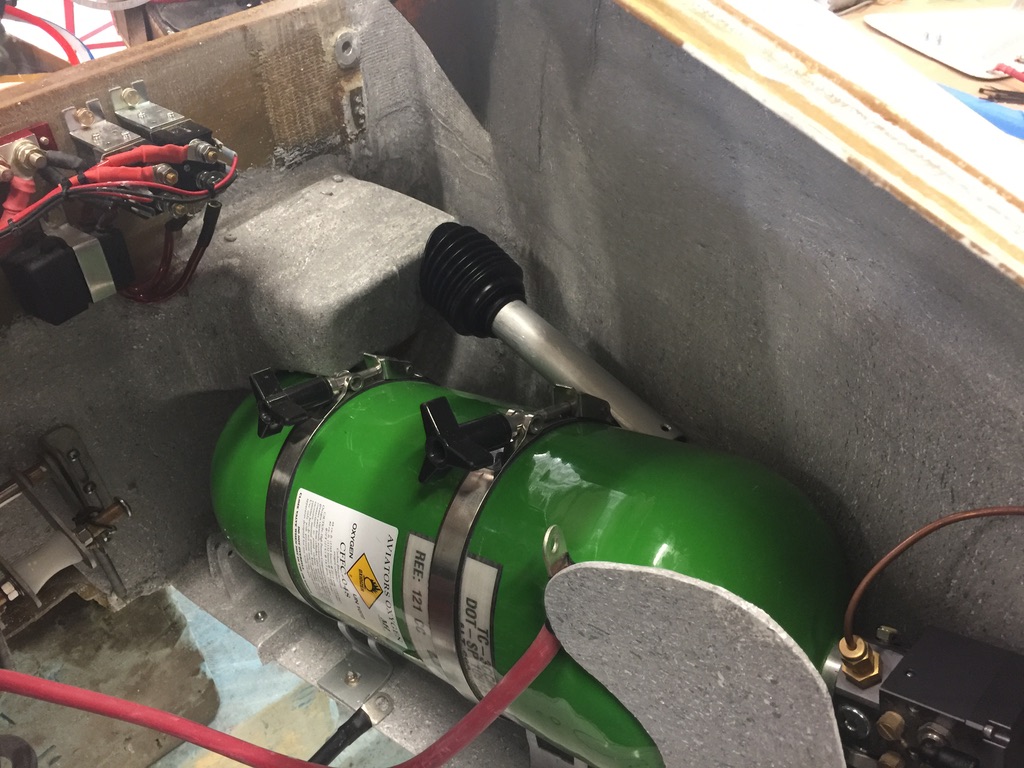
Plus, I wanted to move everything forward as much as possible because the V-Twin tends to be an aft CG airplane (especially with AC in the back). In this case, CG wasn’t a big concern as the carbon fiber bottle doesn’t weigh much. Still, it was a few more pounds up front. Plus, this location offered the extra benefit of a rather easy installation of the fill port which also makes servicing with oxygen a breeze.
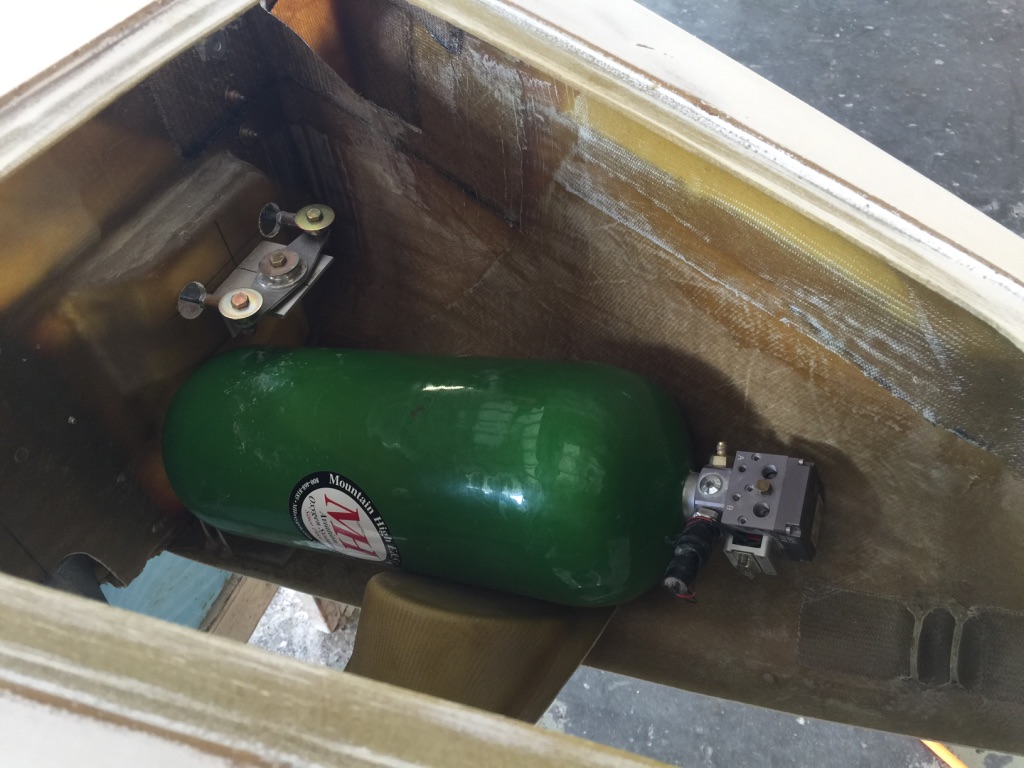
The parts to install included a 48 cu.ft. oxygen bottle, a fill port, a control head on the instrument panel, and four seat distributors. First up, was the O2 bottle.
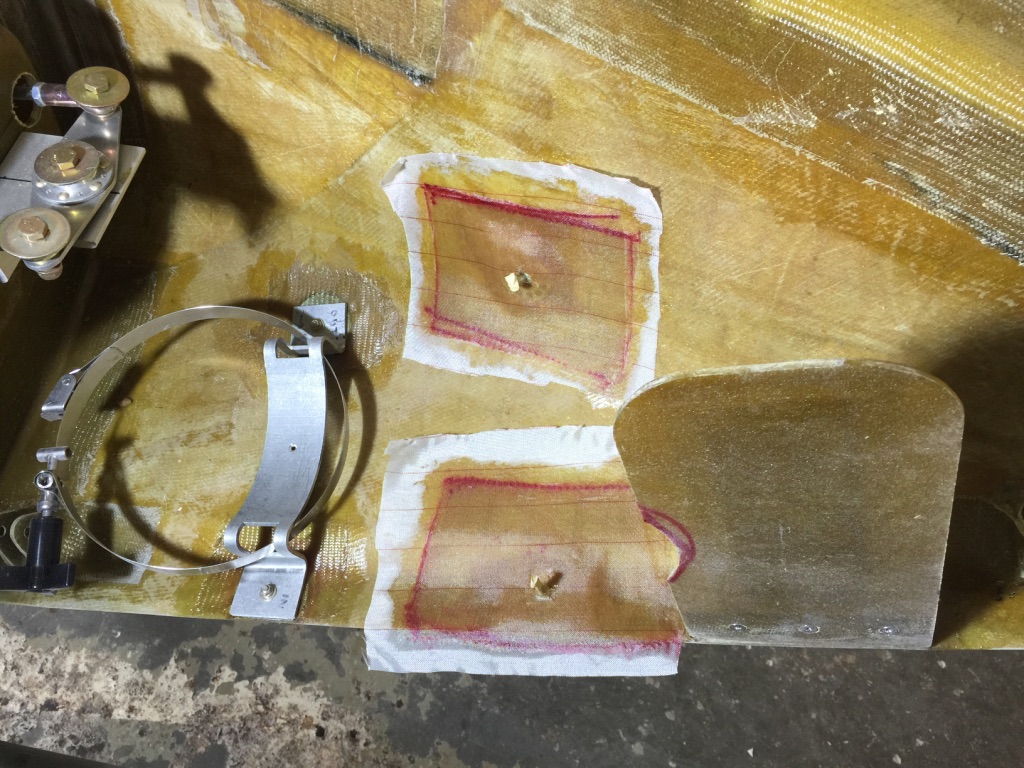
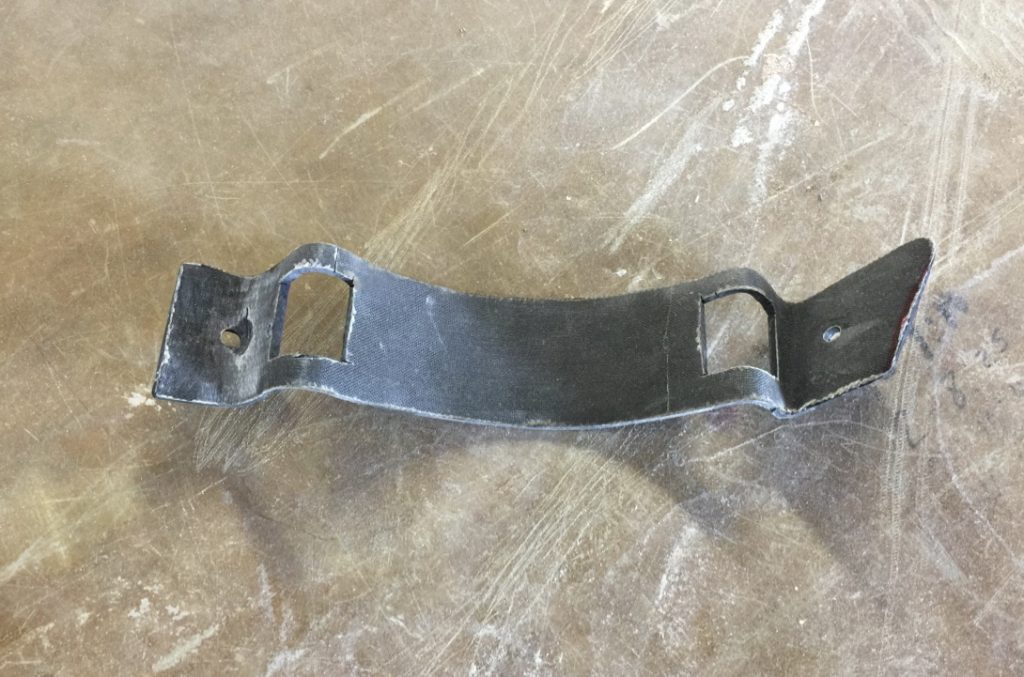
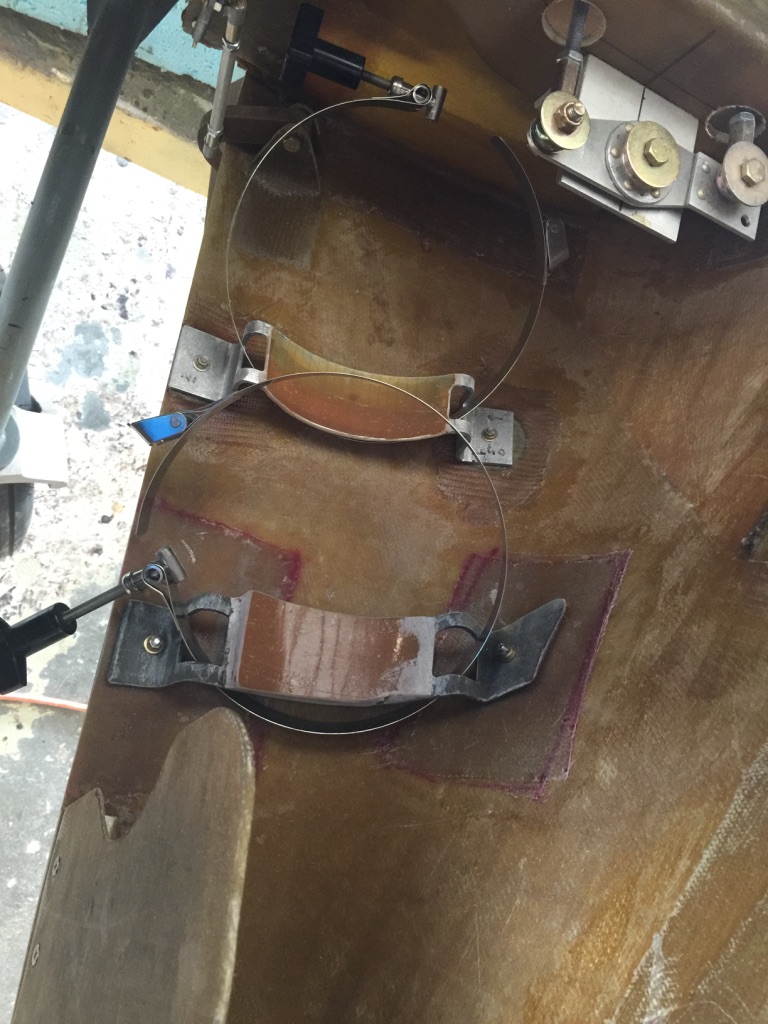
After determining that it would fit in the nose compartment, I set about making some mounting brackets.
Mounting brackets to fit the curvature of the fuselage
There were also several accommodations that had to be made for the bottle to go in this space. For one thing, I had to modify the nose gear guide on that side slightly.
I also had to reshape the rudder cover. It’s tight, but there is enough space.
I also had to relocate the mounting hard point for the rudder trim. Since I was using a trim actuator that also includes a potentiometer for position display on the G3X, I was going to have to relocate it anyway. It was tight, but quite doable.
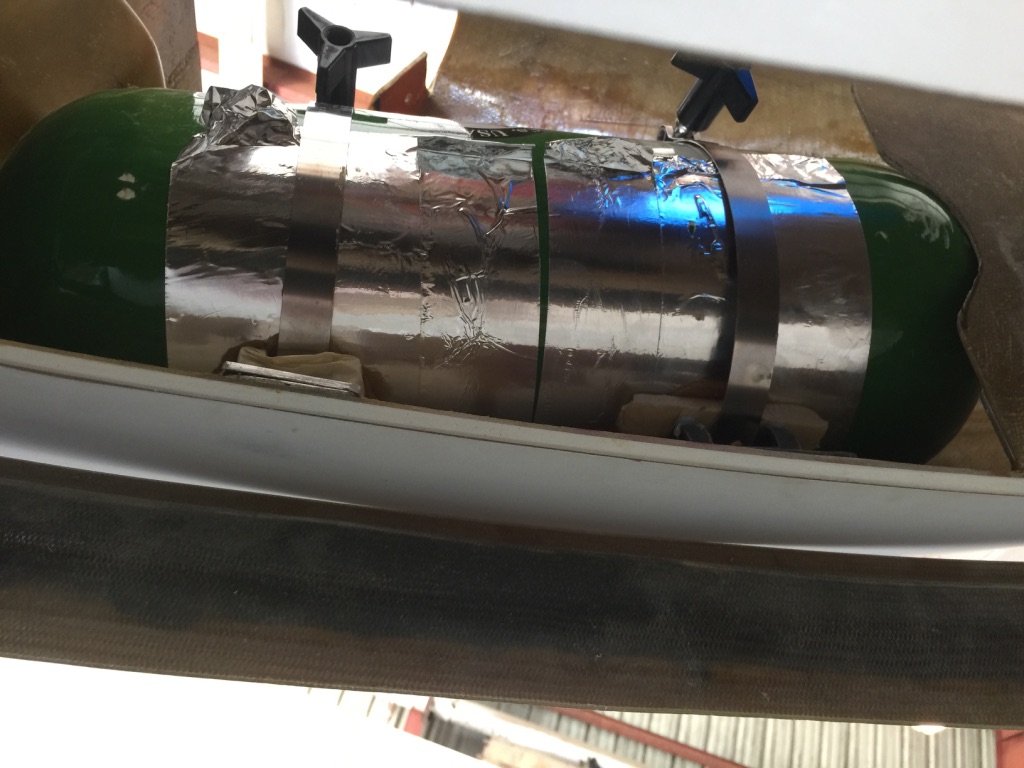
Final O2 bottle installation
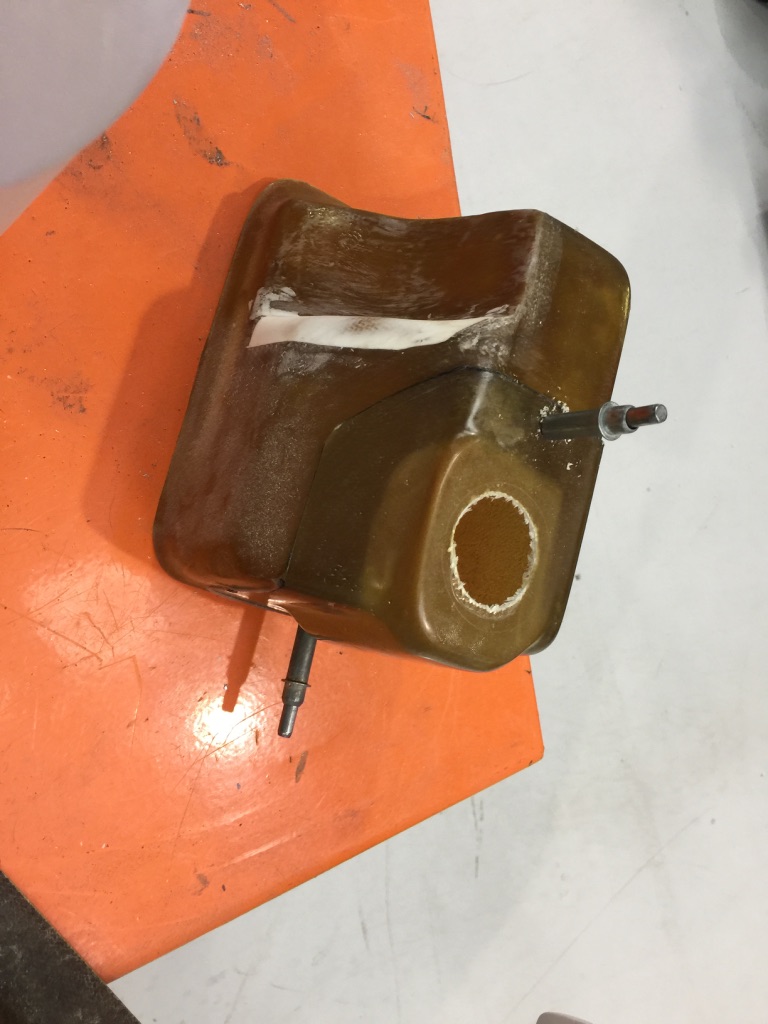
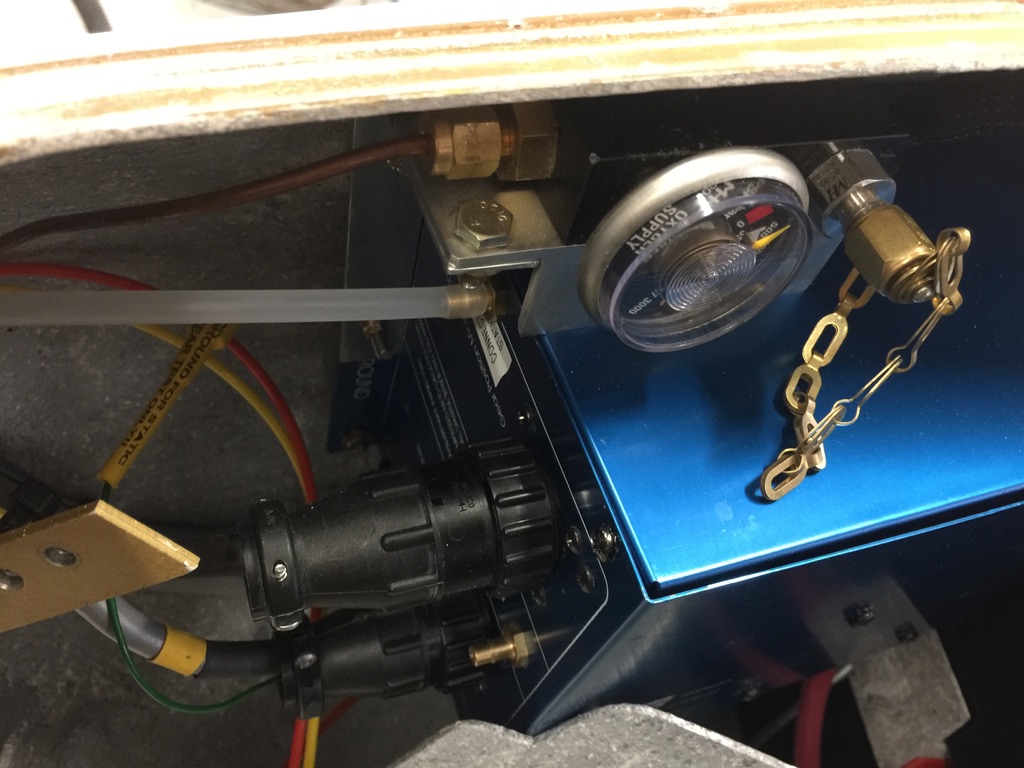
This isn’t a great photo, but the fill port and pressure gauge are located in the nose compartment. There is easy access with the hatch door open.
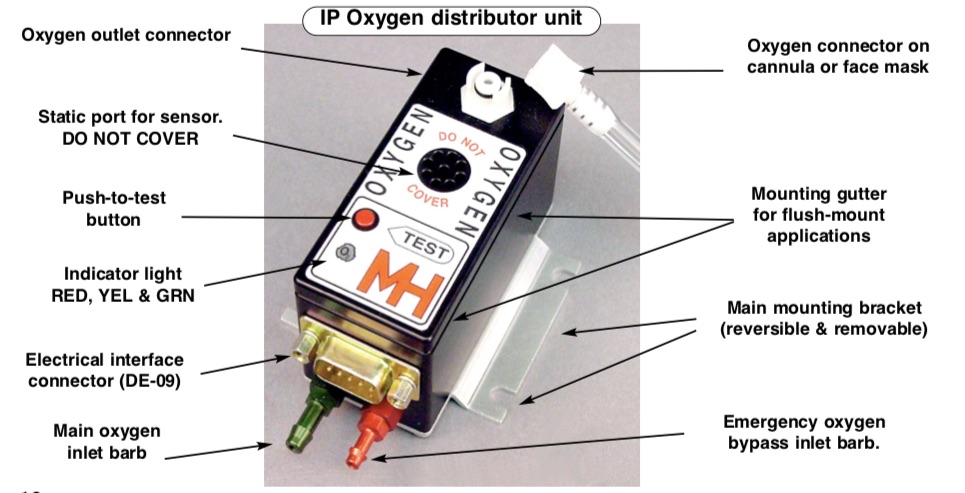
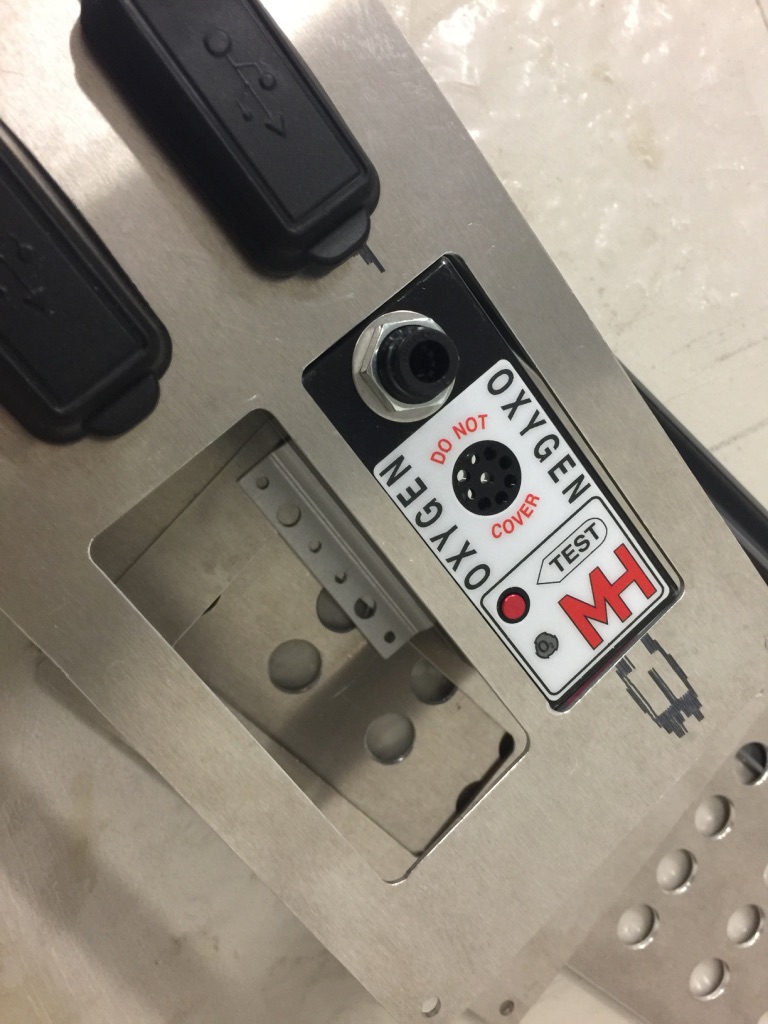
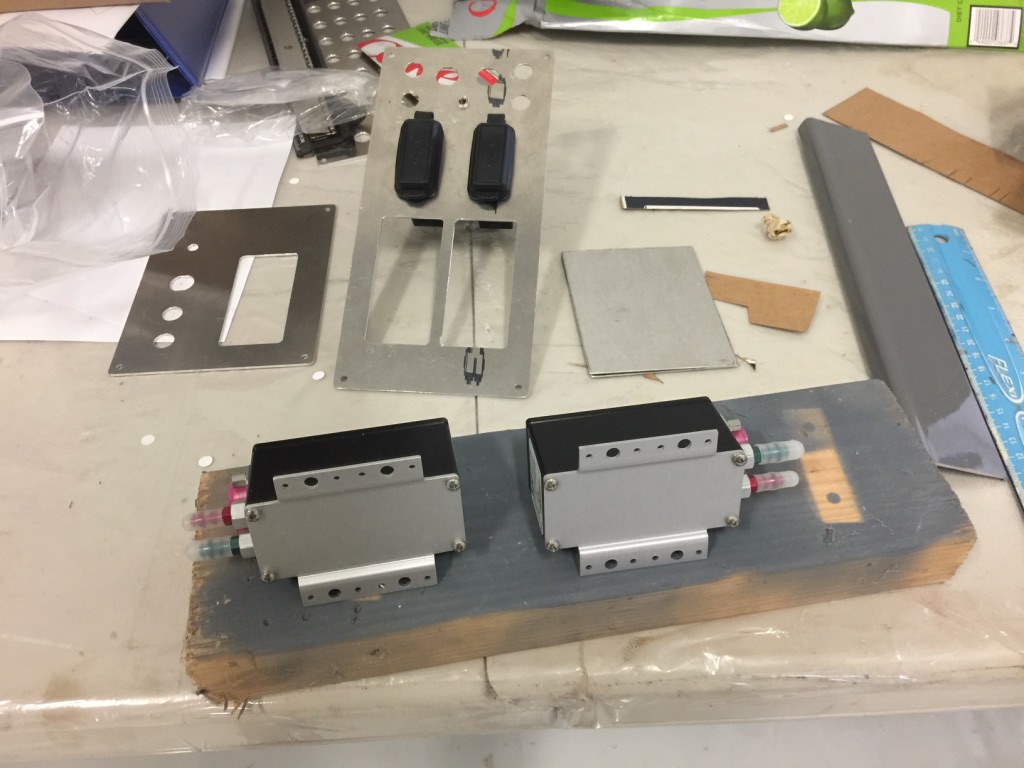
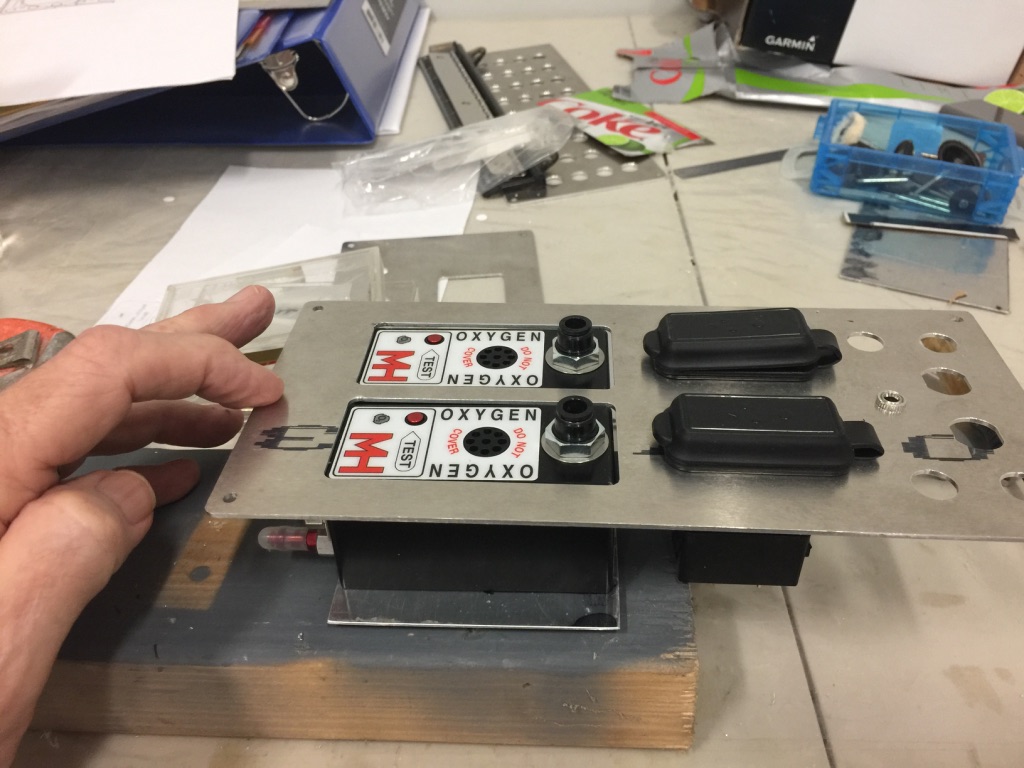
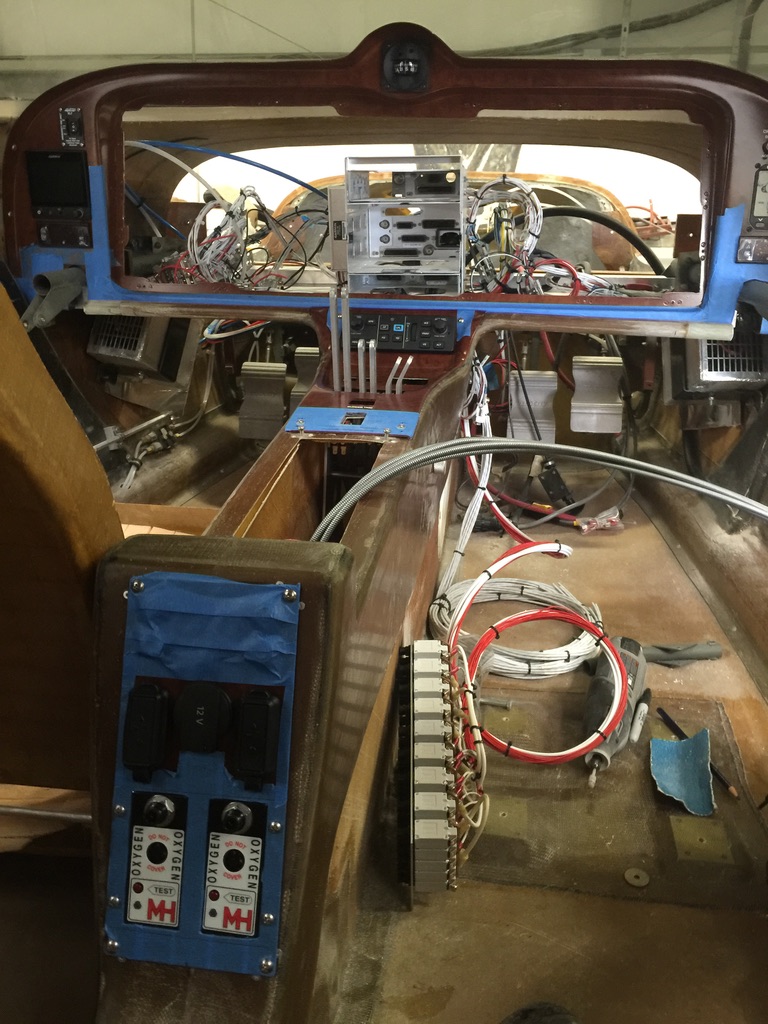
I needed mounting plates for the seat distributors. They doubled as plates for such things as USB outlets, headset jacks, etc.
The mounting plates are ready to be attached. I had them hydro dipped to match the instrument and other interior panels.
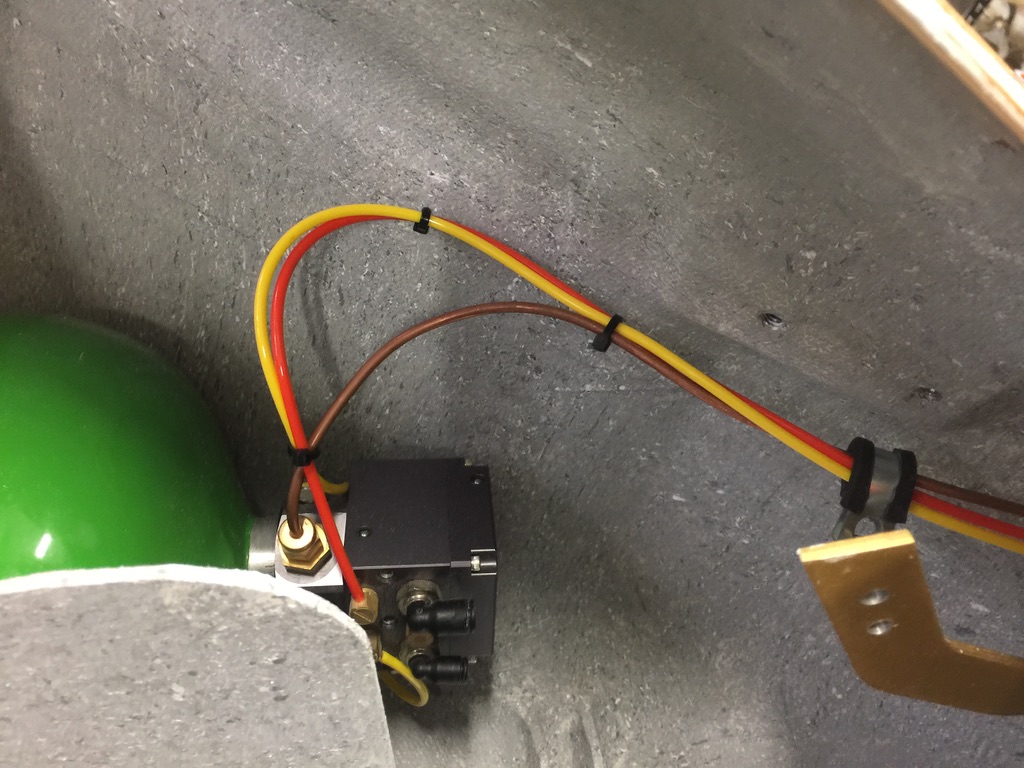
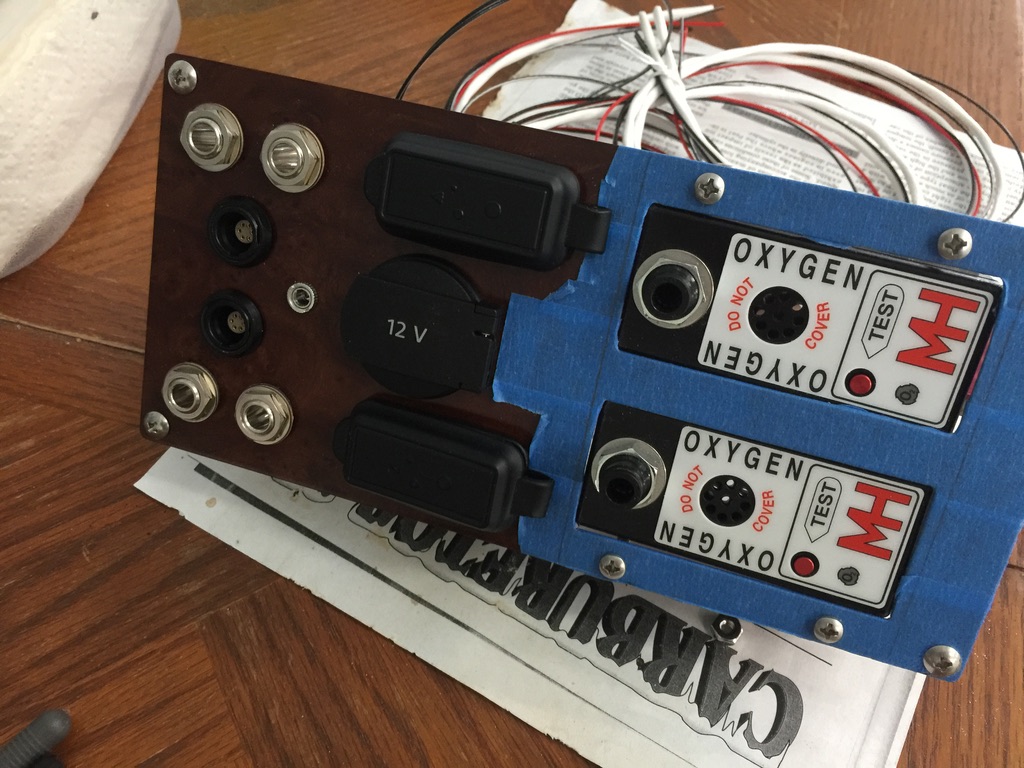
The remaining installation items were to run the wires from the O2 regulator (on the bottle, in this case, but it doesn’t have to be) to the control head. That entailed pinning up a DB-9 connector. I had already run the wiring for each of the seat distributors, so O2 wiring was complete.
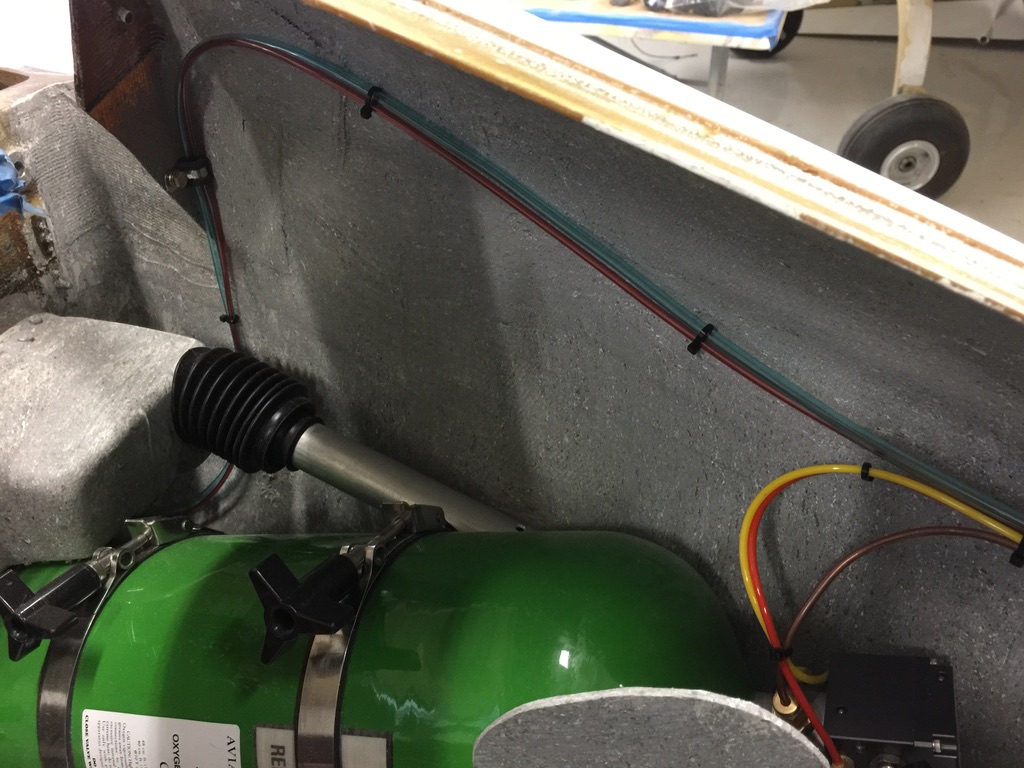
The final task was to run the supplied tubing to the seat distributors. It was pretty easy. They had not only included plenty of tubing, but I planned ahead and purchased quick disconnect connectors from Mountain High. I bought just enough of these. 🙂
I had to run the normal O2 tubing, and also the emergency tubing. In case of loss of electrical power, the pilot flips the Emer O2 switch to the Emer setting. This provides a constant low flow of oxygen to give plenty of time to descend as necessary.